How to make your own BuzzFeed Quiz
BuzzFeed has been generating ‘Buzz’ on the internet since 2006. In that time, it is safe to say that if you’ve been looking for a quiz to fill in a few moments and have a bit of a laugh, it’s the place to go. However, they also tend to get slapped with the ‘clickbait’ stick, and that’s not great from a business perspective. But they still get the visitors and still make advertising revenue; at least enough to keep them making lists and quizzes for the past fourteen years. For the best results with a quiz, making them relevant to your website is perfect for building consumer confidence.
Quizzes and lists are well known all over the internet as an inexpensive and easy way to add interactivity to your website. Users simply love clicking through quizzes, and finding out ‘that special something’ about themselves. If you need some inspiration for making your own quizzes, you can look through a few of those on BuzzFeed. Before you know it, you’ll learn how to make your own BuzzFeed quiz. Then you can use those on your own website to generate traffic and build your email contact lists.
Here’s a summary of what we’ll be talking about in this article. Click these links if you want to skip ahead:
- How does BuzzFeed work?
- Breakdown of a BuzzFeed promotional quiz
- Importance of quiz results
- Steps to make your own BuzzFeed quiz
- Tips for creating a great BuzzFeed quiz
- Alternatives to BuzzFeed quizzes
How does BuzzFeed work?
BuzzFeed is essentially an advertising marketplace. They don’t sell actual products on their site. Instead they use their list and quiz builders to entice people to their site, and then sell advertising space and promotional quizzes. They also use affiliate marketing (providing links to other websites for a commission on any sales).
If you have a look through their website, you’ll see many different articles. Some will appeal to you and some may not. At BuzzFeed they have a scattershot approach, throw up a hundred quizzes and lists and see what sticks to a reader. Trying to appeal to all may work for BuzzFeed, but for your own website, especially if you’re selling a product or services, you want the quiz to target your potential users. Achieving this sort of hit ratio can be hard, and this is why you should learn how to make your own BuzzFeed quiz.
Breakdown of a BuzzFeed promotional quiz

For some inspiration on how to make your own BuzzFeed quiz, let’s examine one of their paid quizzes, so you can see how, and why, they work. This quiz was written and produced for Tourism and Events Queensland.
The title of the quiz tells the users exactly what they’re going to do. There is no hiding behind a mystery, and it is void of anything remotely click baity.
The questions are relevant, and pull the information from the users in a fun way. As you progress through the quiz, you’re presented with a pictorial answer, followed by a text answer. This breaks up the content, and keeps the user visually stimulated.
The quiz contains seven questions in total, and takes about three minutes to complete. Quizzes such as these are fast and deliver quality information to the owner.
At the end of the quiz the user is presented with a results page that tells them which Queensland destination is best for them based on what answers they gave. While it can be difficult (or near impossible) to delve into the specifics of the scoring for the quiz, it would be safe to say that there are probably 4-6 results that a user can see.

The importance of quiz results
It is during the final results that you have a chance to give a final pitch for what you’re selling. In our example it has links to holidays in the Whitsundays (I do love a beach holiday and sailing!), then offers links to things that I may like to do there. After running through the quiz several times, it appears there are about three (3) different results pages (The Whitsundays, Noosa, and Cairns). All of these had a different script, and links to various parts of their main website.
You’ll notice on the results page there are share buttons. This is so the users can share their results with others and give them the chance to take the quiz themselves. Social media is perfect for this type of marketing. People tend to trust their friends and colleagues, so if someone says they’re happy with the results of the quiz others are likely to complete it as well. Then they’ll get the chance to see where their favorite Queensland destination might be!

On the results page you’ll also be given a selection of other lists that may be of interest to you. This is another way of keeping people interacting with your website and getting value from it. It also offers you some more opportunities to market your products to the user. So, for example, if the results they got did not appeal to them, they can complete these quizzes and you get another chance to show them something they’d be interested in.
When you put all of these together it demonstrates how to make your own BuzzFeed quiz. You can take on board what they have created and discovered over the course of their existence and use their knowledge to make your own quizzes more effective. While you cannot take content from their quizzes (doing so is a breach of Intellectual Property laws), you can use them for inspiration.
Steps to make your own BuzzFeed quiz
Here are our 5 easy to follow steps for making an excellent BuzzFeed style quiz:
-
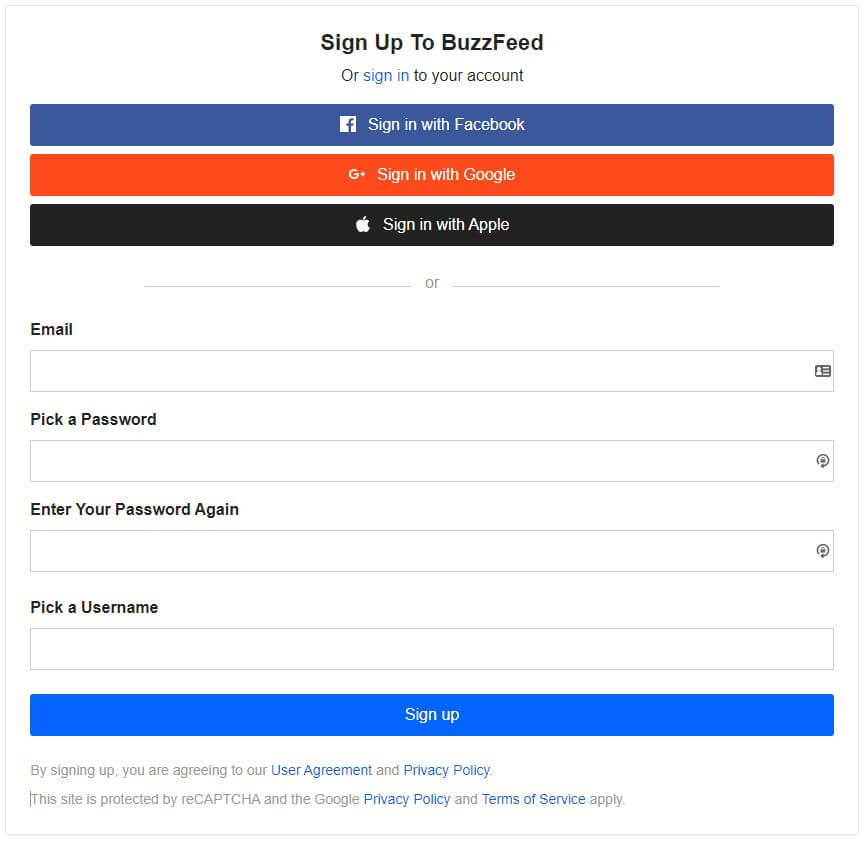
Sign up for a BuzzFeed account - head over to the sign up page and register or log in with your social media credentials. In this example we used our email address to create a new account.

-
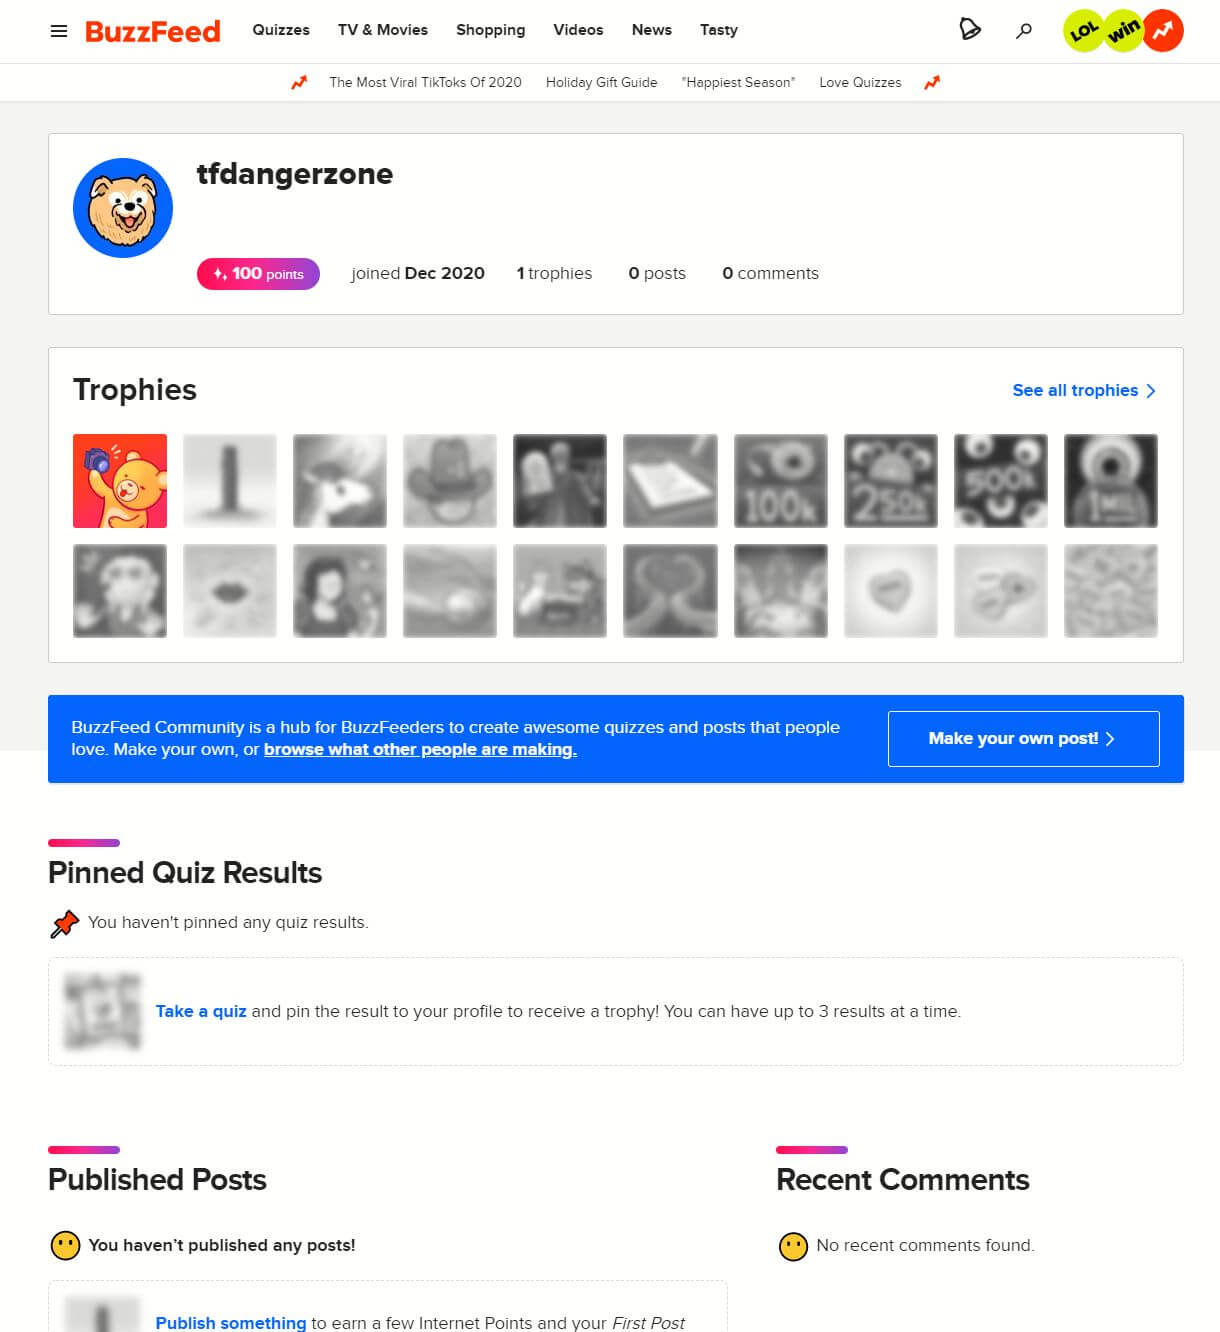
Verify your account - Once you’ve added your email address, picked a password and created your account you’ll receive a verification email. Simply head over to your inbox and click the link in the verification email. This will open a browser and have the BuzzFeed dashboard loaded up.
-
Create a new post - From the BuzzFeed dashboard, select to create a new post
-
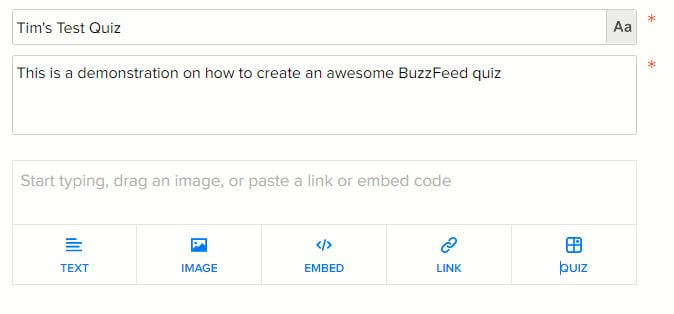
Add a title and description - Pick a catchy title and description for your quiz. These fields are mandatory so make sure you take care of them before moving on.
-
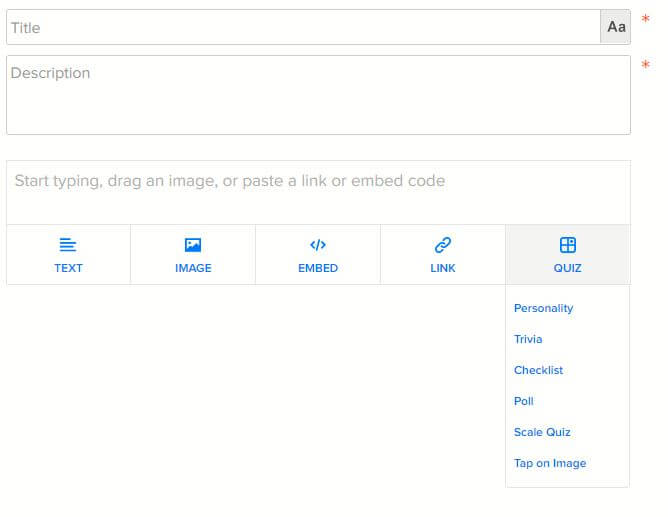
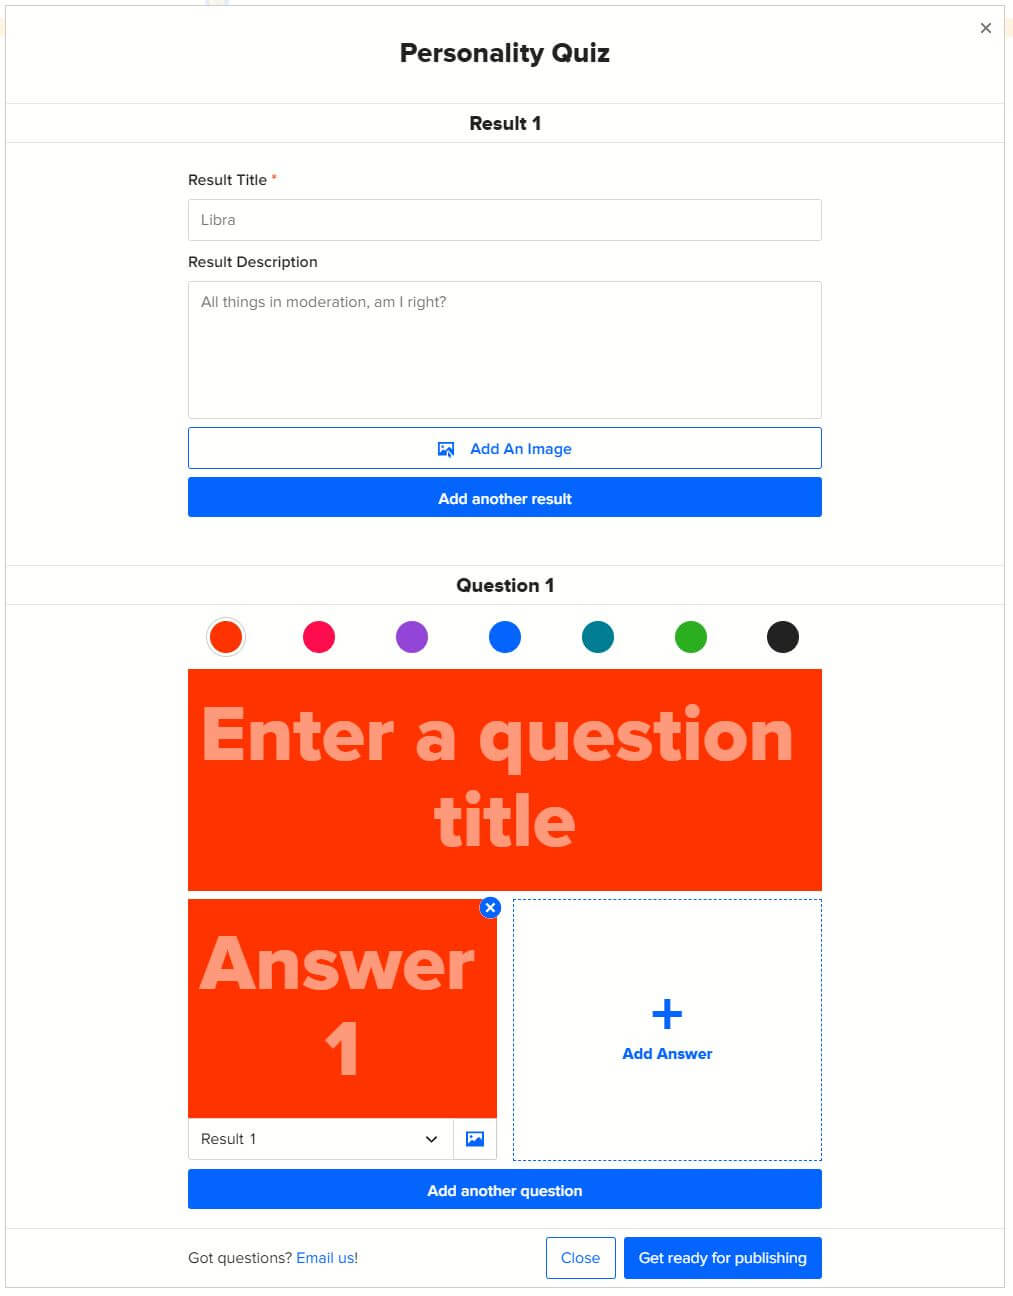
Create a quiz - On the post creation interface, hover over the quiz menu item then choose personality quiz.
-
Add your content - Add in some engaging questions, answers, images, and styling. For tips and tricks on how to get this right, see the next section.
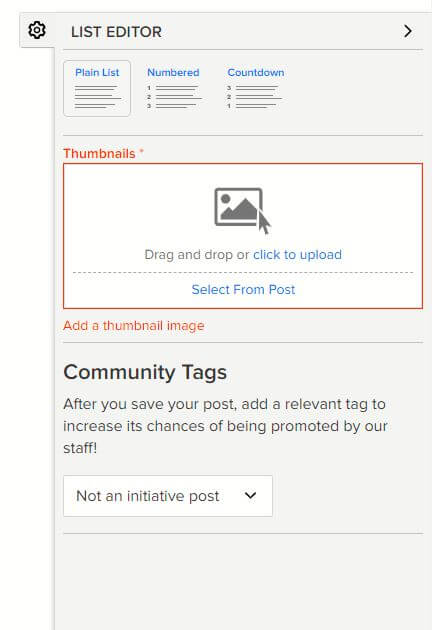
- Pick a thumbnail image - Pick a thumbnail image that is at least 625 x 415 pixels.
- Edit your thumbnail picture - Pick the alignment and sizing of your image.
-
Give your thumbnail an alt text description - This helps with people using screen readers or accessibility issues.
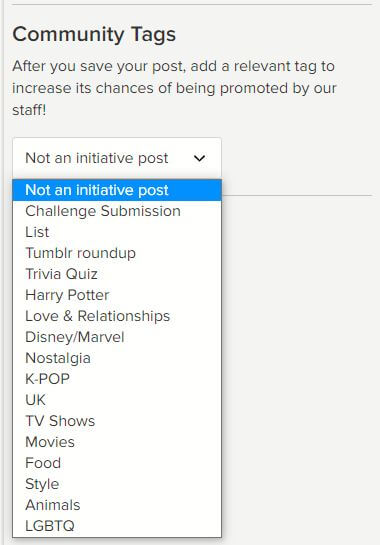
- Pick a community tag - this will help other people find your quiz by grouping you into a relevant category.
-
Publish - When you’re ready, hit the publish button.
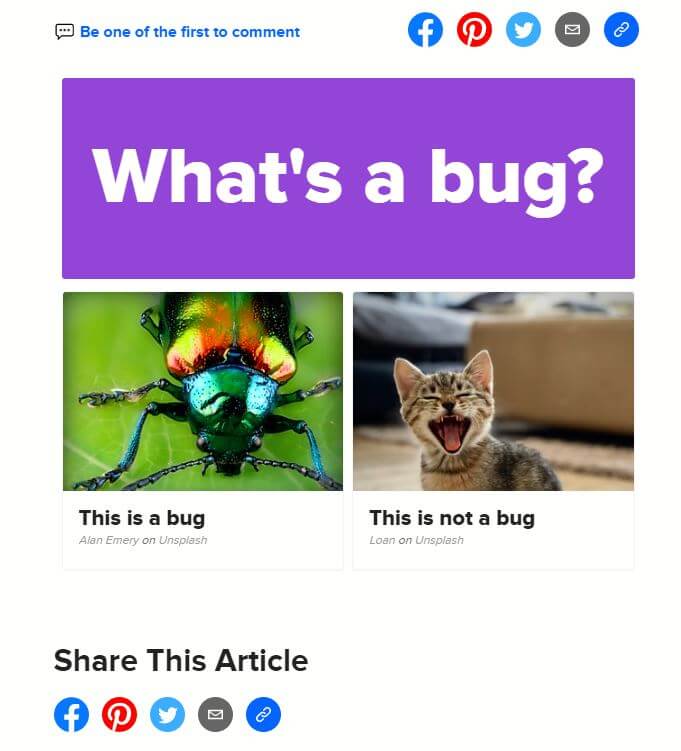
- Share your quiz - Use the social media sharing buttons to share your quiz, or hit the link copying button and paste the link on your website.
Tips for creating a great BuzzFeed quiz
Now you’ve got a handle on how to create your quiz, you’ll need to make sure that it gets noticed. These 5 tips will point you in the right direction for building a quiz that your readers will appreciate:
- Have a snappy headline - your quiz heading is the first thing people will see. It needs to draw them in and make them curious. Avoid click bait style headings as this will turn people away.
- Write questions and answers that relate to the topic - have at least six (6) questions and a maximum of twelve (12). Less or more than those will either be not enough to give your quiz credibility or will be too long and not interesting.
- Keep the style of quiz in line with your websites content - try to mimic the style of writing you have on your website. It’s hard to write a fun and playful quiz, if your website is serious in nature. Try to make them match, or at least not be worlds apart.
- Have your results take into account what people have answered - nobody likes a quiz that seems random. The answers they give should in some way relate to their answers. Doing otherwise means your quiz lacks credibility.
- Make use of pictures and text - people love pictures! Having photos in your quiz make it easier for them to choose an answer. For the best results you should use your own photos, but you can source some royalty free ones from around the internet. Mix them up with short text-based answers to keep the quiz interesting and free flowing.
Alternatives to BuzzFeed quizzes
It can seem a little overwhelming learning how to make your own BuzzFeed quiz. You may also find that the styling options and cheesy feel of the quiz doesn’t sit well with your brand.
For the past two years, we’ve had clients coming to us asking for help in building custom quizzes that look modern, stylish and fit their brand. After building a handful of these quizzes we figured it might be worth automating the process to give a broader audience the chance to create really nicely styled quizzes that actually look good.
This is essentially how Quizpipe was born. The driving force behind the platform was making quizzes that look better than anything on the market.
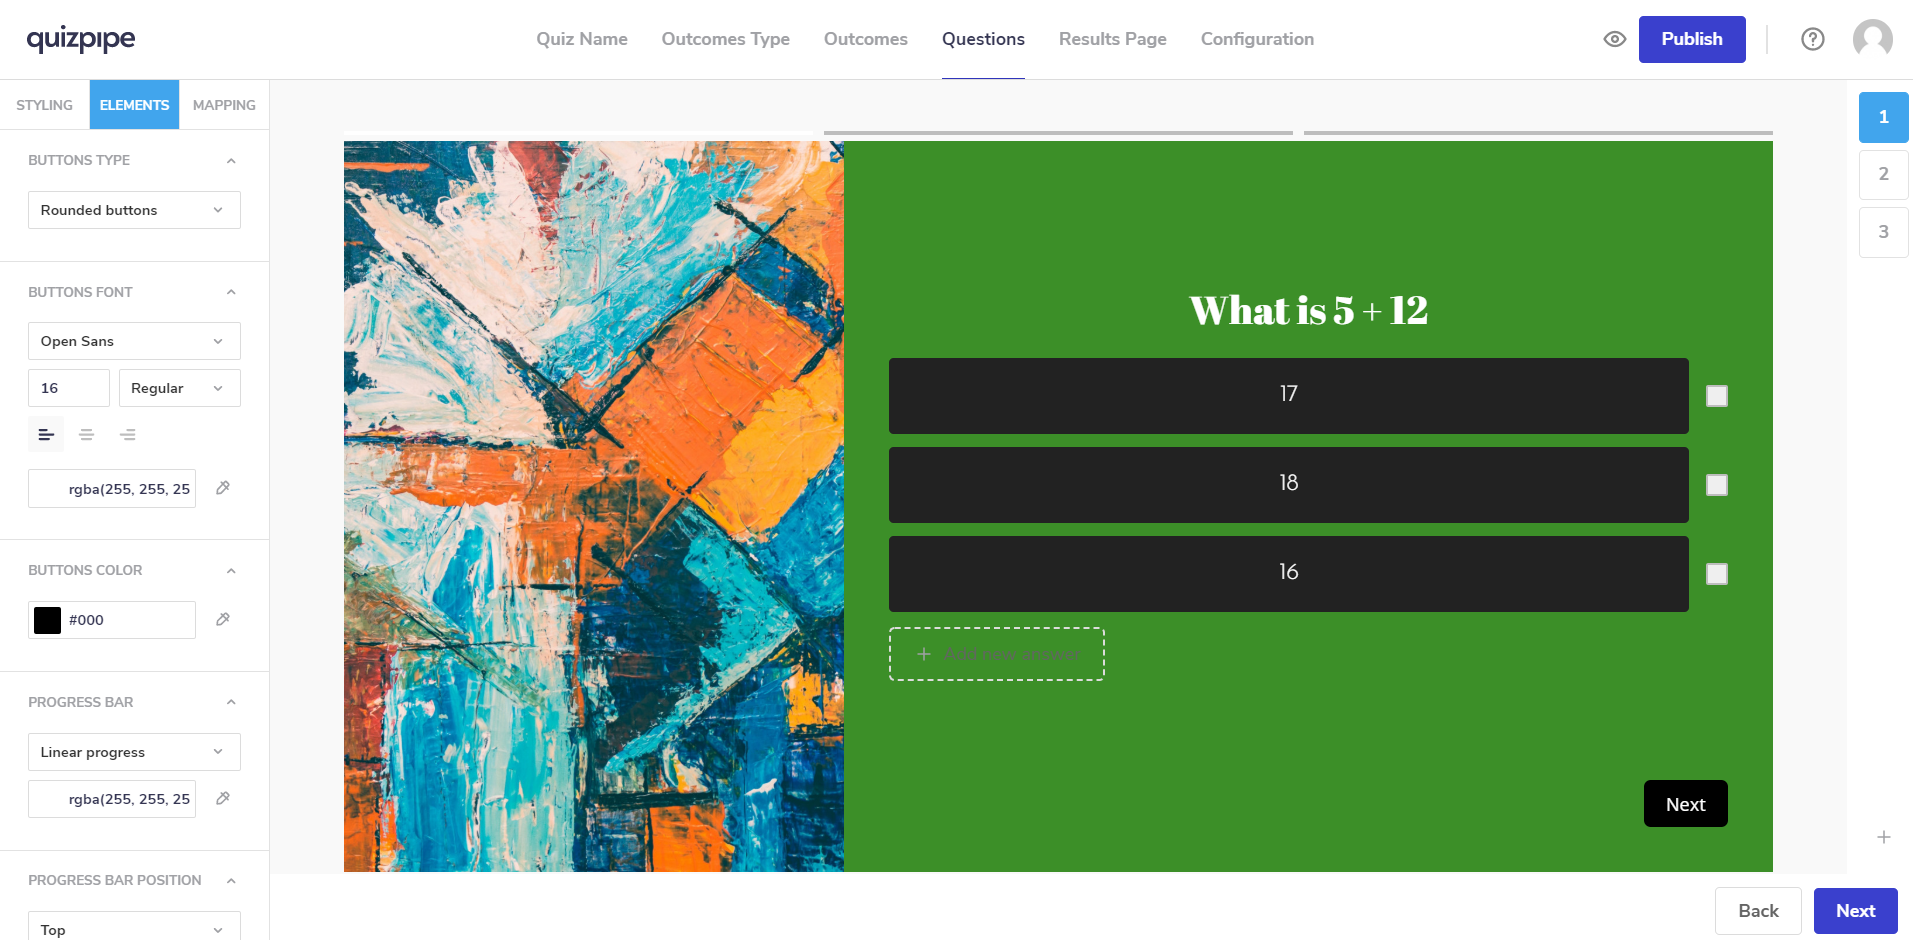
The process is fairly simple, and we’ve written an extensive guide on how to create a quiz from scratch that you can follow. Once you’ve created your quiz and it aligns with your website’s branding, simply copy and paste the embed code and it’s ready to capture attention.
The smoother the experience is for your users as they move between your website and quiz, the more likely they are to trust the authenticity of your brand and message. This in turn allows you to engage with your audience through newsletters, email marketing, and discussions. All of which will lead to building your trustworthiness and an increase in sales for your website.